There have been several different models during the evolution of the Raspberry, here it is:
Model :
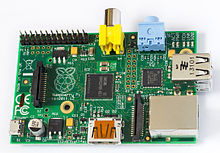
Raspberry Pi 1 B
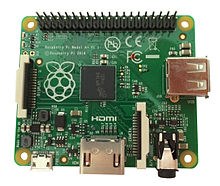
(April 2012)Model :
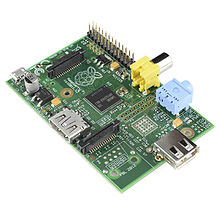
Raspberry Pi 1 A
(February 2013)Model :
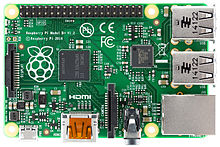
Raspberry Pi 1 B+
(July 2014)Model :
Raspberry Pi 1 A+
(November 2014)Model :
Raspberry Pi 2 B
(February 2015)Model :
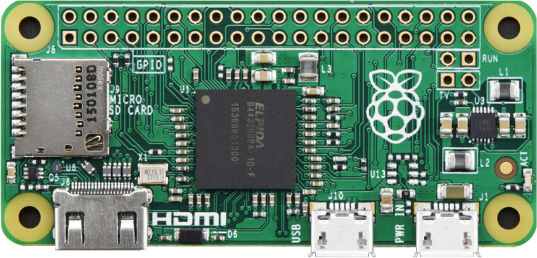
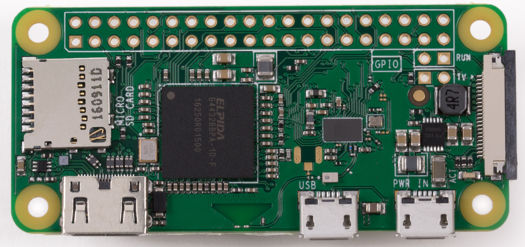
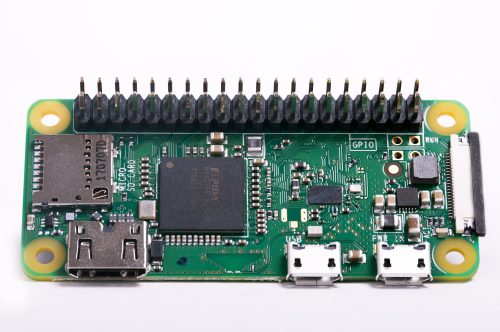
Raspberry Pi Zéro
(November 2015)Model :
Raspberry Pi 3 B
(February 2016)Model :
Raspberry Pi Zéro W
(February 2017)Model :
Raspberry Pi Zéro WH
(January 2018)Model :
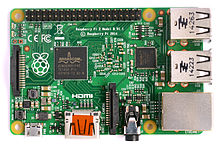
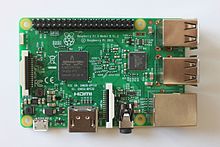
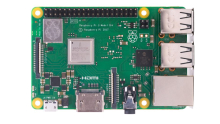
Raspberry Pi 3 B+
(March 2018)Model :
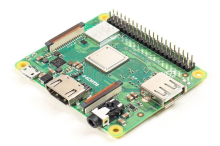
Raspberry Pi 3 A+
(November 2018)Model :
Raspberry Pi 4 B
(June 2019)
Today, the Raspberry Pi 3 B+ is simply the most versatile nanocomputer for its price. It is the most advanced version of the Raspberry Pi and is sold for only €35.
In some projects where such a large power is not required or where you need a smaller card size, a Raspberry Pi Zero WH or a Raspberry Pi 3 A+ may be more suitable.
But if you just want to discover the Raspberry Pi environment, install Raspbian for example, and use it as a small desktop computer, the Pi 3 B+ is for you!
Accessories
Here are the accessories that are essential for the operation of your Raspberry Pi depending on the model chosen and the accessories that you can do without but which prove to be very useful.
A SD card
An alimentation
A box
An HDMI cable
A keyboard
A mouse
The complete Buster installation
I installed a new OS (Buster) on my Raspberry to do this little tutorial :D
I) Buster installation on the SD card
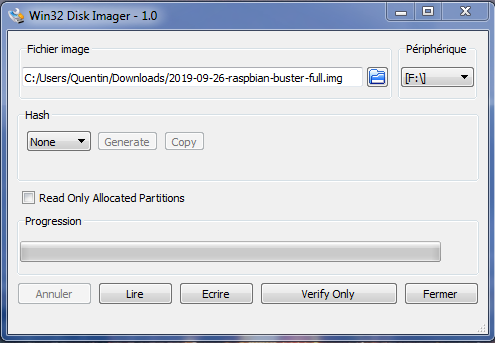
Download the latest version of Raspbian here and unzip it.
You will need the software SD Card Formatter
to get a blank SD card and Win32 Disk Imager to flash the image on the SD card.
⚠️ IMPORTANT: For the full version you need a 16GB card is recommended ⚠️
II) Launch of the Raspberry
Connect the Ethernet cable then HDMI then Micro USB and change your screen to HDMI input.
Let the Raspberry start up and then configure the small details shown on the graphic screen.
III) Configuration
A) Raspberry
Do the command:
sudo raspi-config
In "Network Options" change Hostname.
In "Boot Options" select "Boot Desktop Autologin".
In "Localization" change everything to English if you wish.
In "Advanced Options" do "Expand Filesystem" to use all the space on the SD Card.
And most important in "Interfacing", activate "SSH" and "VNC" !
B) Internet
Do the command:
sudo nano /etc/dhcpcd.conf
Uncomment from "# Example static IP configuration:" and modify with your own IPs.
.
# Example static IP configuration:
interface eth0
static ip_address=192.168.1.140/24
static routers=192.168.1.1
static domain_name_servers=dns1 dns2 8.8.8.8